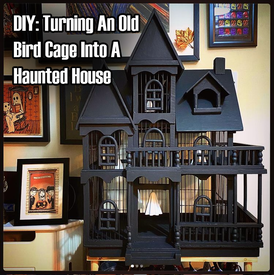
This project is quite specific but I hope that by sharing how I put this together, it might give some of you a few tips on how to make something similar or even the same if you come across a similar bird cage.
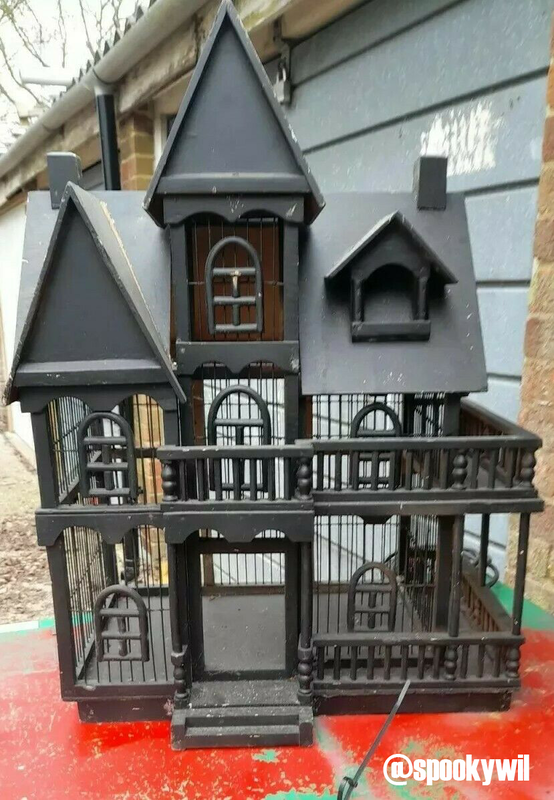
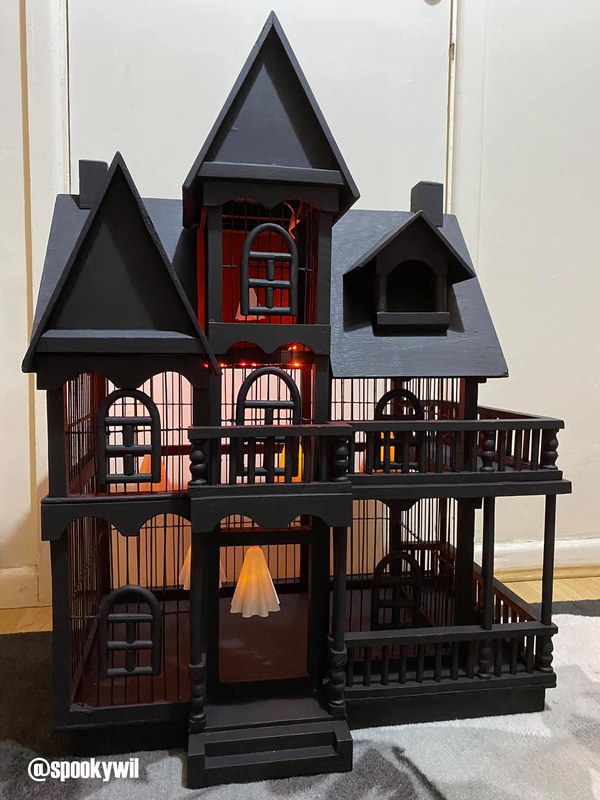
I recently came across this bird cage while searching for Halloween mugs on ebay. It was odd that it appeared in the results and at first I checked it out and didn't really think much of it, until that's all I did was think about it. I started to dream up all the things I could potentially do with it and so I ended up getting in touch with the seller to see if they would be happy to ship (the auction was originally collection only), fortunately for me he was and so around a week later the bird cage had arrived.
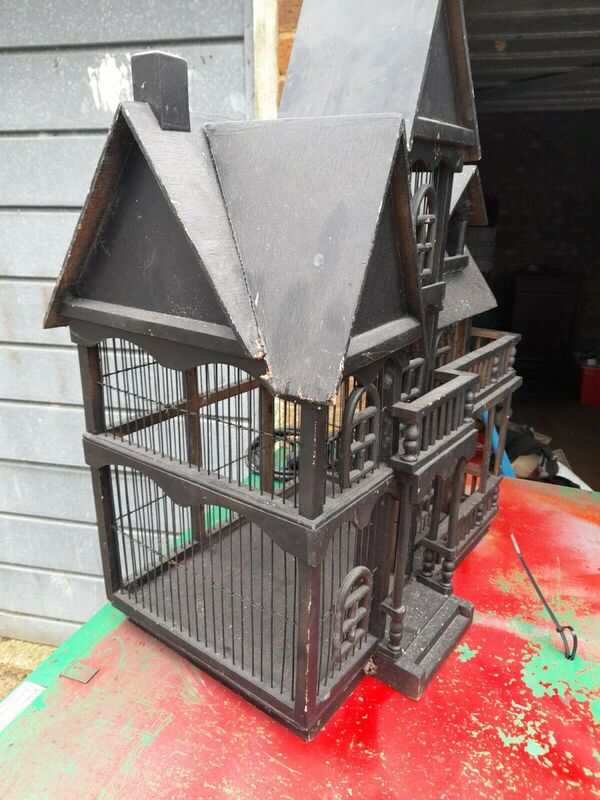
It wasn't in the best condition but also not the worst at all. One part of the roof wasn't secure anymore and the paint work was chipped, stained and incredibly dusty. The cage was filled with webs and so the moment it arrived I removed the areas that could be taken away from the cage and got cleaning.
At first I used a vacuum to remove all of the webs and dirt. I then used a sponge with some warm soapy water to clean the cage all over. With cotton ear buds I was able to clean in between all of the small areas to remove as much dirt as possible. Next I moved on to painting. For the entire thing I used a basic wood and metal paint which I grabbed from Amazon. I painted the entire outside first and then moved to the inside. It was extremely tricky as the base does not come away so I had to reach as much as I could into the house through the small door in the front and paint the inside of the roof. It took a while to finish all of the inside due to so many awkward angles but it wasn't impossible.
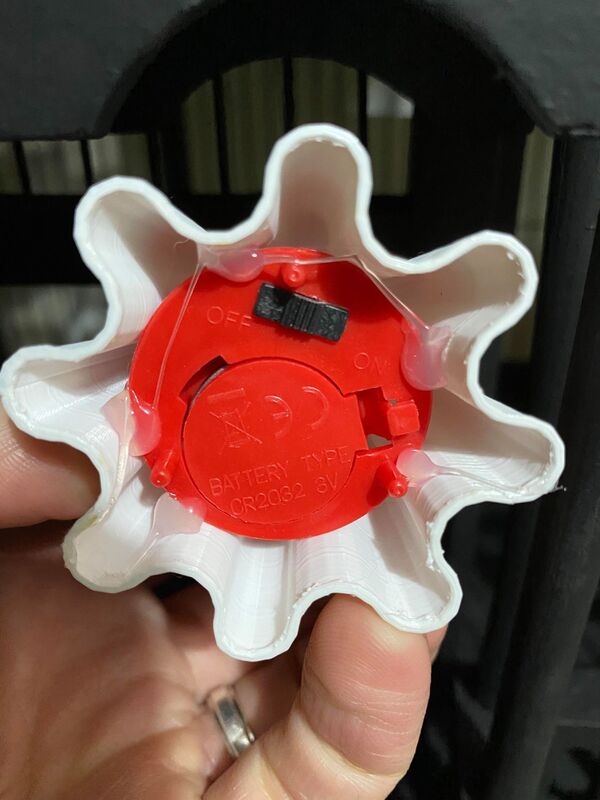
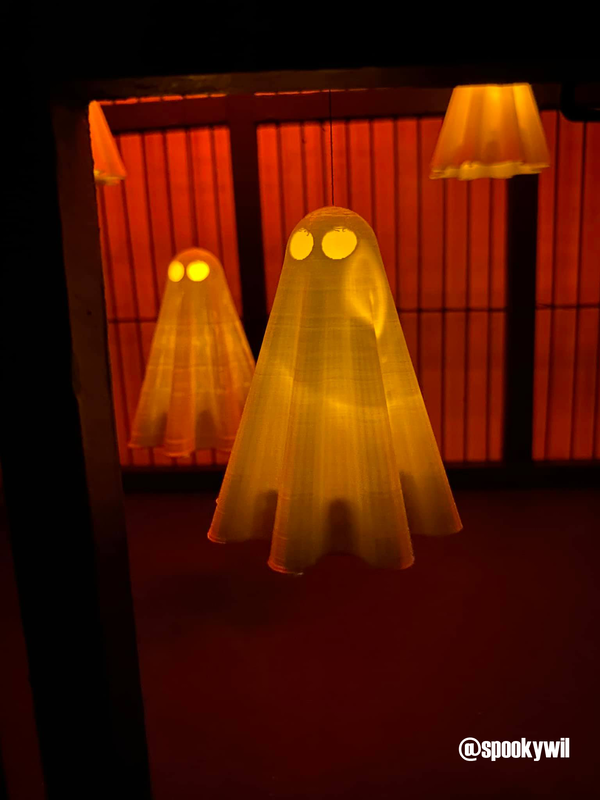
In the days up to it's arrival I decided to 3D print 6 different sized ghosts. Using a pin I made a small hole into the top of each one and threaded a piece of string through each ghost. With the string attached I then took apart battery tealight candles by removing the base and glued the base (with everything still attached) inside each new resident. As I was able to remove the base of each candle with everything still attached, I am still able to turn them on and off and also replace the battery if needed.
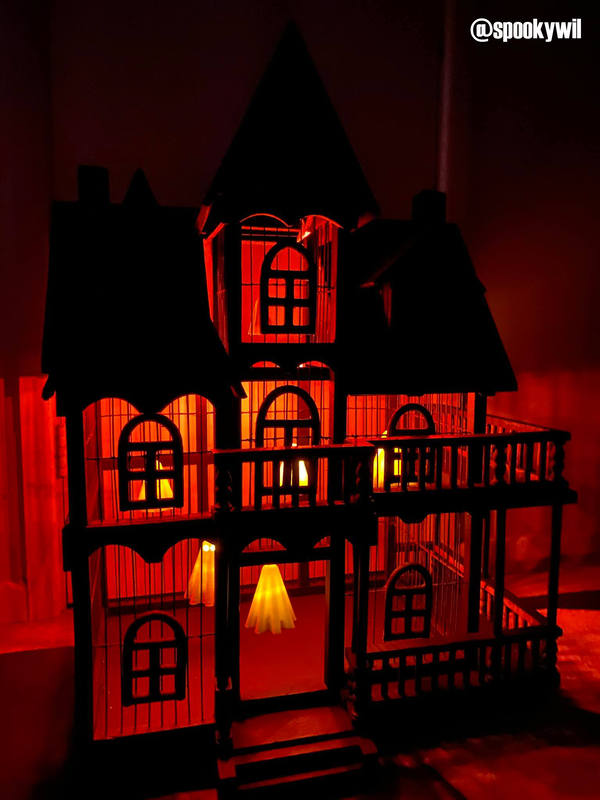
These were then attached to the inside of the roof and either tied onto the wooden beams inside or I used a small piece of strong sticky tape to attach each one. The smallest ghost which can just be seen at the very top of the house does not light up but the attached lights in the roof make him glow anyway.
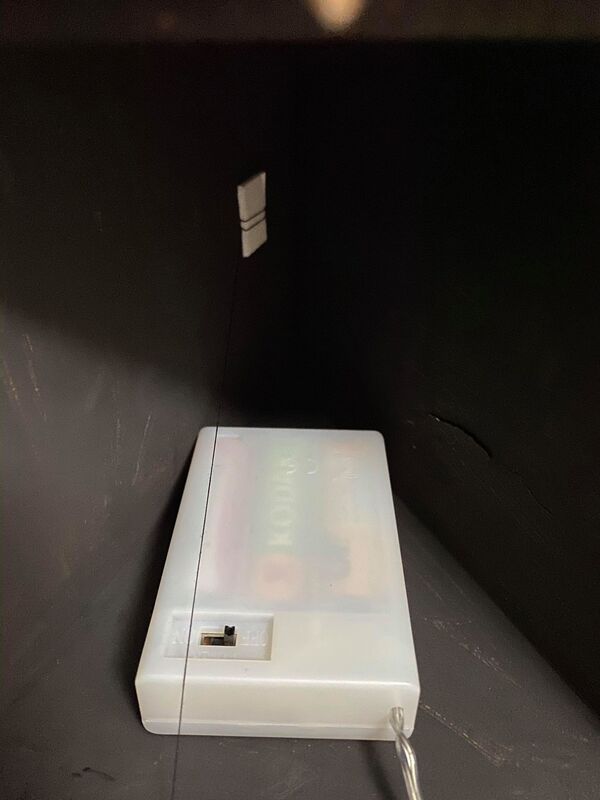
Lastly I found a set of copper wire orange lights also on Amazon. What's great about copper wire LED lights is that you can easily bend and shape them. So without using any kind of glue or sticky tape, I was able to bend the lights around the beams in the roof and spread them out to ensure as much of the lights lit the roof up as possible.
I know that this is such a specific make but for those that would like to make something similar, you can easily substitute the 3D printed ghosts and make them from paper or even air-drying and fimo clay. Maybe use an old toy dolls house and paint it all black with the ghosts hanging in the windows or use just a standard bird cage with ghosts inside. The copper wire lights I purchased from here and the paint is here.




 RSS Feed